
If you’re creating an online Facebook group for a party or your VIP group, here are the steps I take to create it! I was using a PC, and from time to time, the steps will change slightly, so feel free to comment if you notice something has changed!
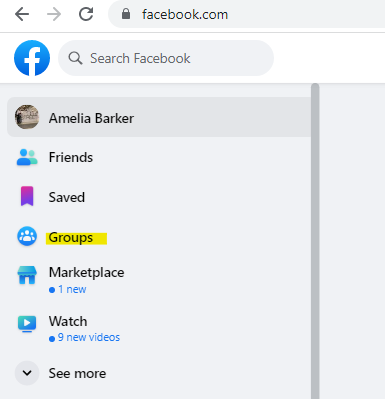
- Open Facebook to your home page
- Click on “groups” on the left side of your screen
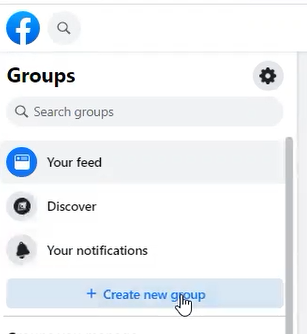
3. Click on the blue “Create a new group” box on the left side of your screen.
4. Choose a name for your group. Remember, you cannot use the words “Color Street” or any variation in the name. Be sure to check your policy & procedure document for branding guidelines.
5. Set the privacy to “Private” (no discounts or giveaways in public forums!)
6. Click “Create.”

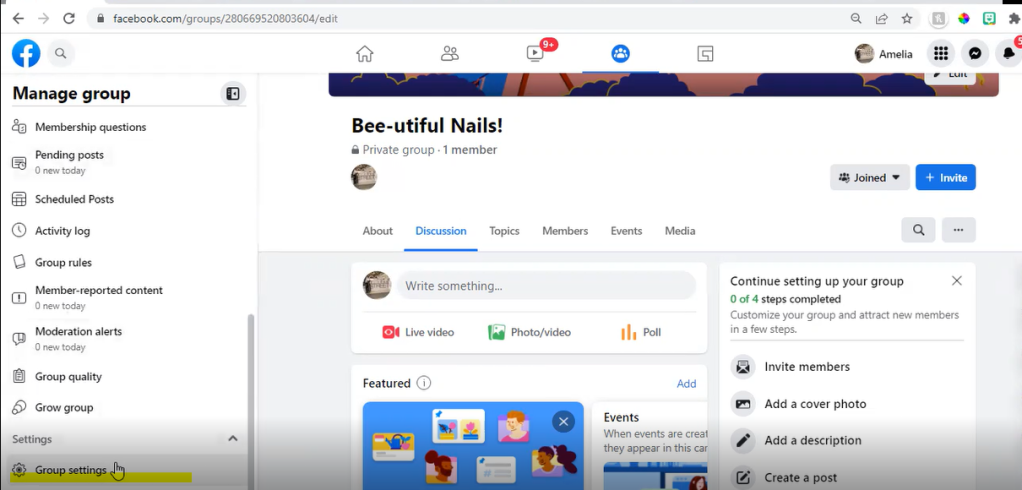
7. Once your new group opens, scroll down to Settings>Group Settings on the left.
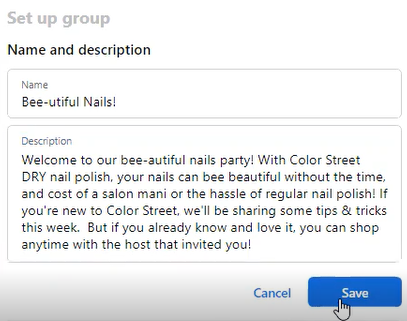
8. Set the name and a brief description of your group. Then click “save.”
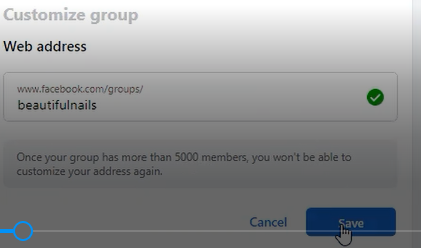
9. Scroll down and choose a custom web address for your group. It should be something easy to remember (and spell!) Then click “save.”
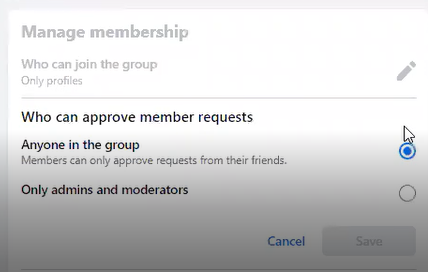
10. Set your membership rules so:
- Only profiles can join the group (not pages)
- Only admins and moderators can approve member requests
11. Set “Approve all member posts” to ON. (This is good hygeine because sometimes people will post un-related spam to groups to get “credit” for sharing. You’ll want to keep the conversations relevant and on topic!

12. Scroll up to the top and click on “Home” and then “Edit” on the cover picture.

You can create your own cover photo in a graphics app (I prefer Canva!) or many graphics groups will take requests for cover graphics.
Once you save your cover photo, your group is now set up!
If you are a visual person, here’s a short video that walks through the process!
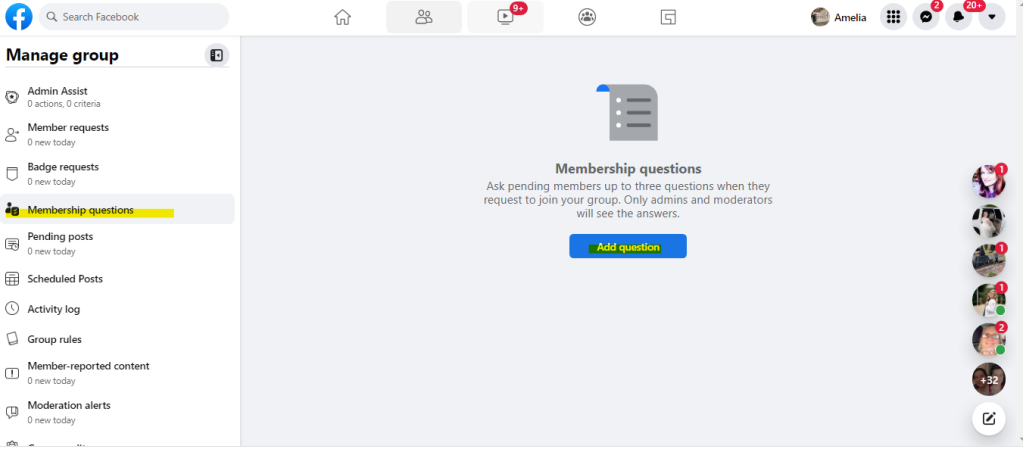
Optional: You can also set up membership questions. Although not everyone will answer them, it’s helpful to get to know your members!
For a mega party with multiple hosts, I always ask who invited them!
Other membership questions might include:
- Have you ever tried Color Street?
- Yes, I LOVE IT!
- No, please send me a sample!
- Maybe once or twice???
- Would you like more info on:
- Becoming a Color Street stylist
- Hosting your own party
- Just checking things out for now
To do this, just scroll down in your left-hand admin panel to “Membership Questions” and click the blue “Add question” button.
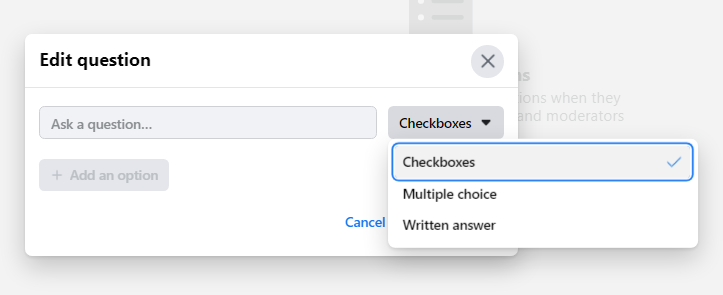
From there, you can choose a type of question (Checkboxes, Multiple Choice, or Written Answer), add your question, and add your options (if applicable.)
I hope you found this helpful! Once you’ve set up your group, feel free to drop the link in the comments below! I’d love to see what you created!

2 thoughts on “Creating a Facebook Group (pc)”