One of the biggest behind-the-scenes tricks that I have learned as a Color Street stylist is that you can pre-schedule posts to your Facebook groups (as long as you are an admin or moderator!) This means you can engage with your audience when THEY want to engage, whether or not it’s convenient with your schedule!
To schedule posts on a PC, the steps are simple.
(Scroll down if you prefer to watch a short video!)
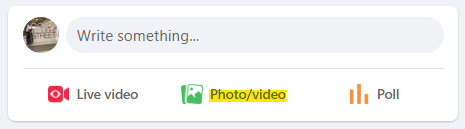
- To begin, click to create a post like you normally would.
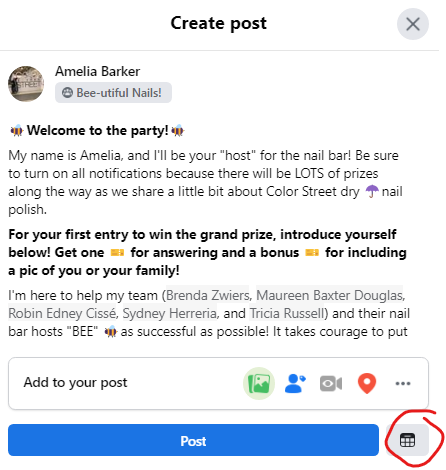
2. After you’ve typed your post and added any pictures, instead of clicking the blue “Post” button, click the small calendar to the right of it.
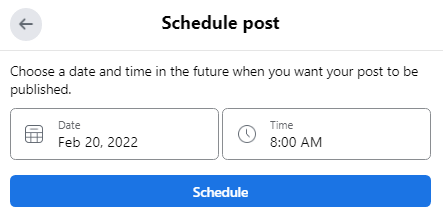
3. You’ll be prompted to choose a date and a time you want to schedule the post. It must be at least 30 minutes in the future.
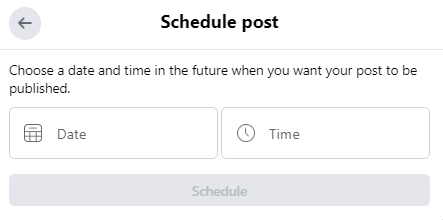
4. After you’ve put in a date and time, you can click the blue “Schedule” button at the bottom.
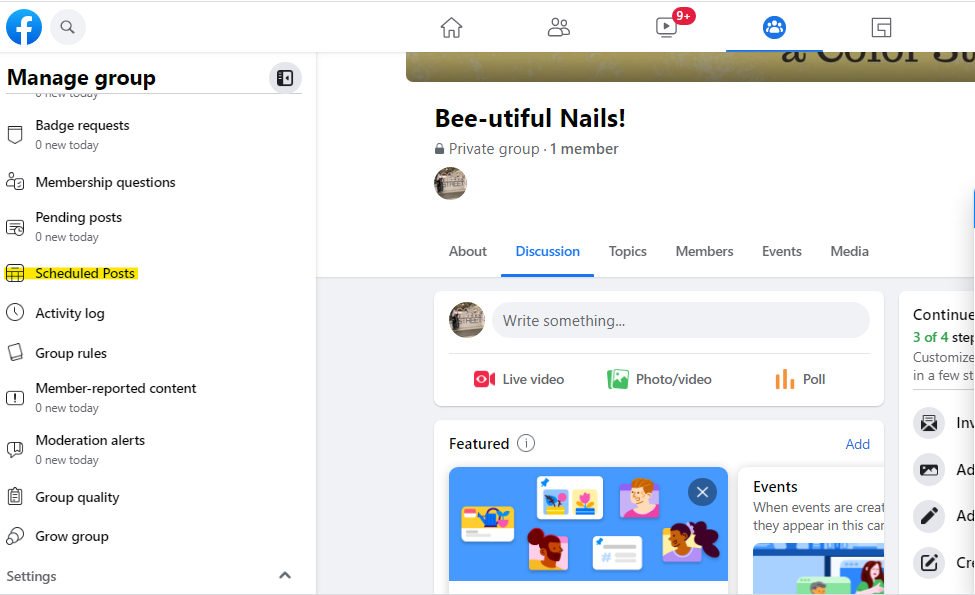
5. When you return to the main page, you can view your scheduled posts by going to “Scheduled Posts” in the Admin Tools panel on the left side of the page.
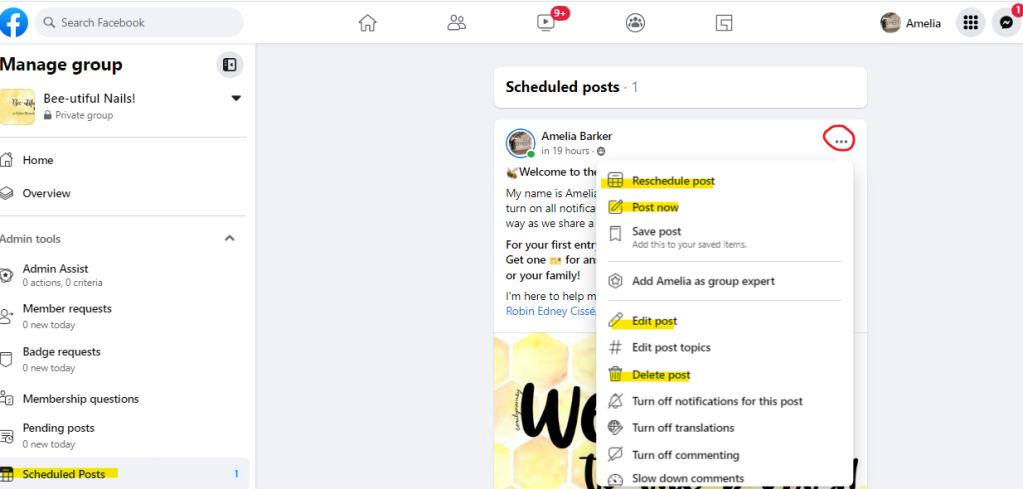
6. From within Scheduled Posts, you can do several things to your post. Just click on the three dots in the upper right corner of the post to access the menu. The most common ones I use are:
- Reschedule post (to change the date and/or time)
- Post now (to post it immediately)
- Edit post (to add/change the post)
- Delete post (if you’ve decided you no longer want it)
If you prefer to watch a video, here’s a quick video that walks through exactly how to schedule!
Scheduling posts has been a real game-changer for my business. I’m an early bird, so I get up early and schedule most of mine before I start work in the mornings or on weekend mornings while I wait for my husband to wake up!
Tell me in the comments: when do you usually schedule your posts?
